Paperd.Ink Review
Published January 6th, 2023 by Emily
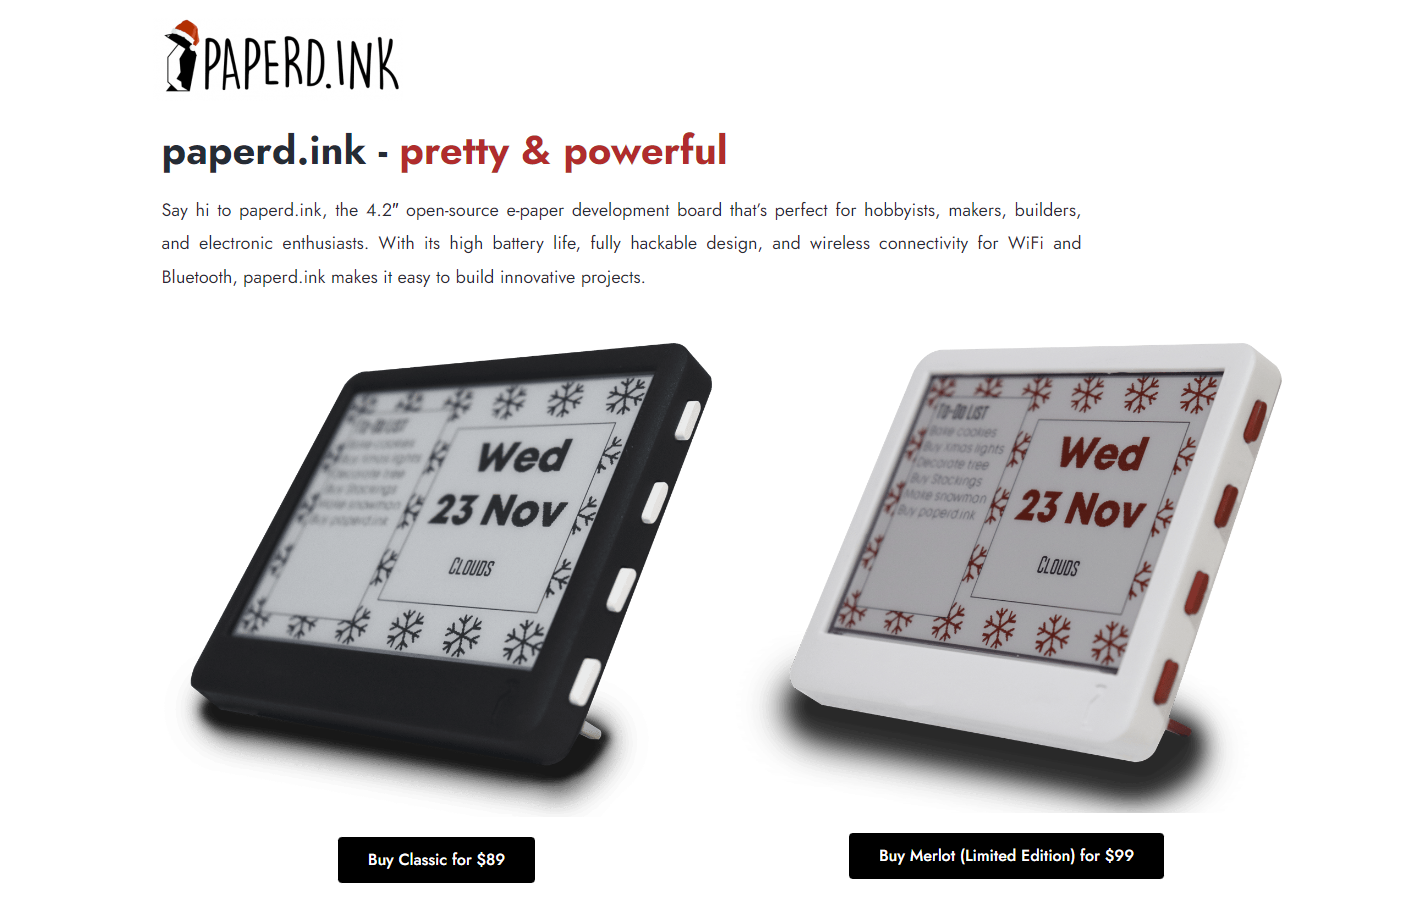
The other day I was perusing the internet and came across this adorable e-paper screen. Because I love e-paper screens and I have an issue with impulse control, I bought it.
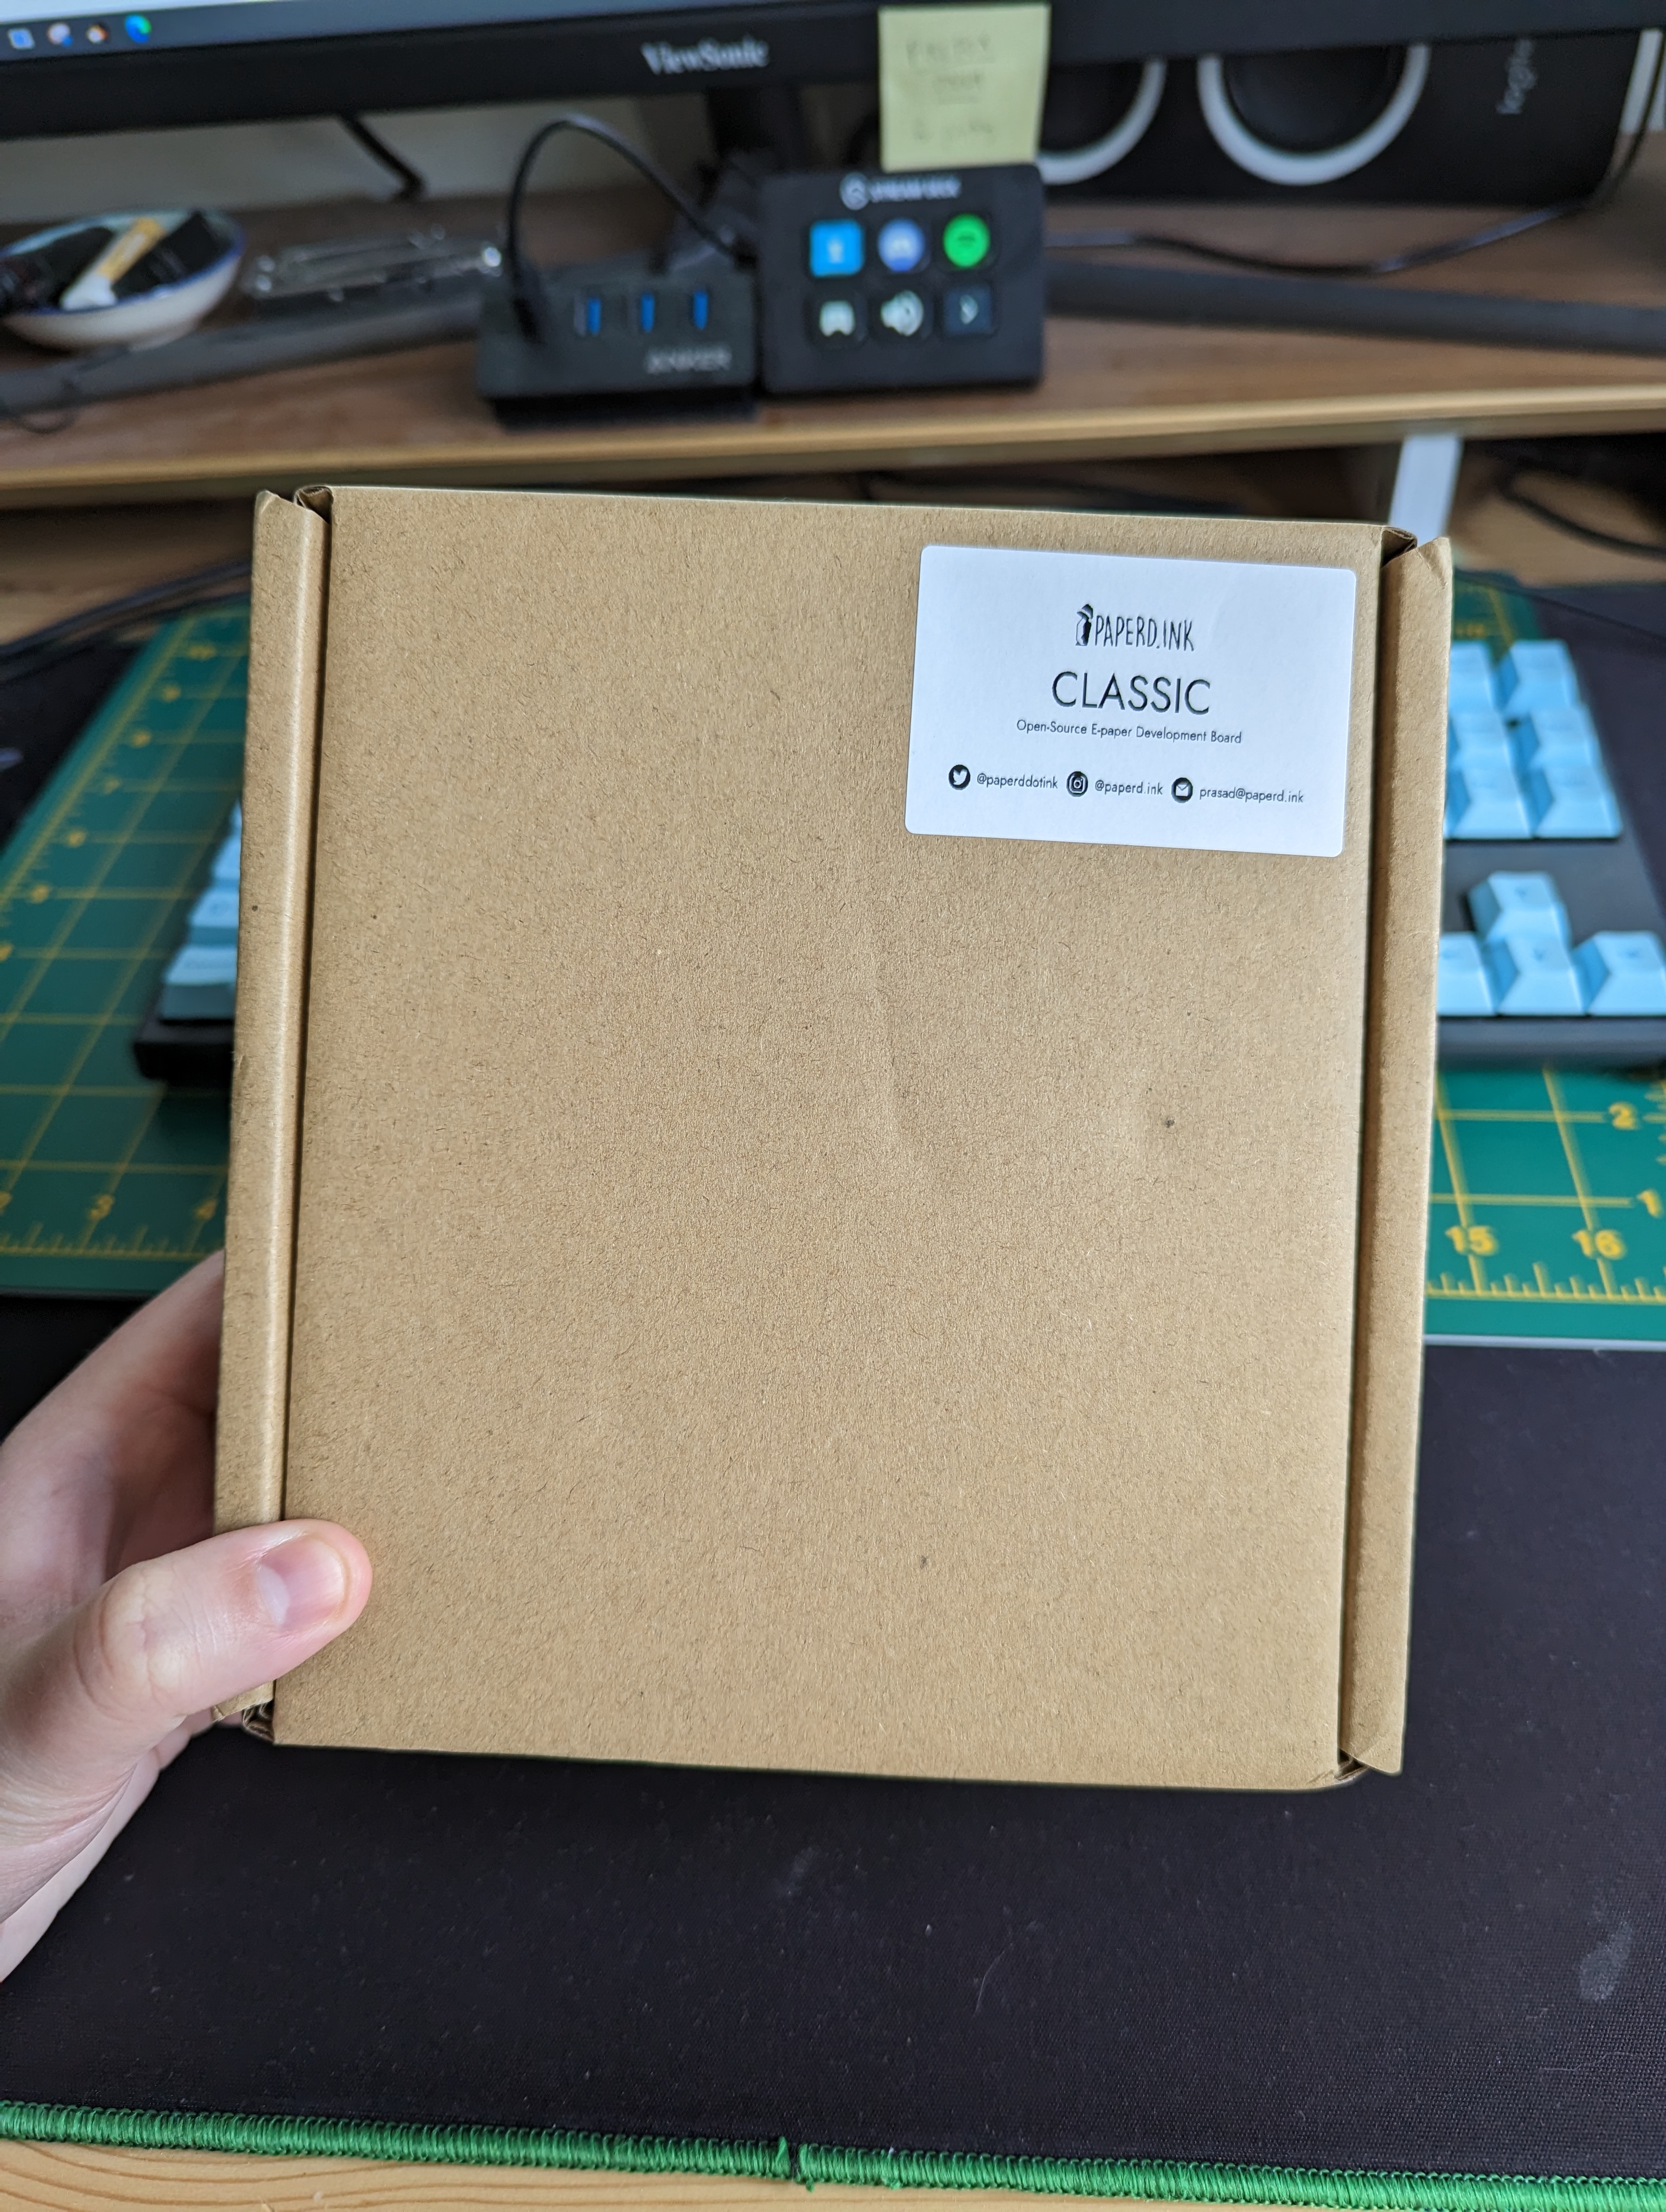
Two weeks later it arrived at my home, a perfect post-holiday project.
Assembly
My first impression was that this will require the user to have some knowledge of electronics and programming. It does not come assembled and the instructions are... rather sparse. The screen came pre-loaded with a single line of text telling me to visit docs.paperd.ink to start the set-up.
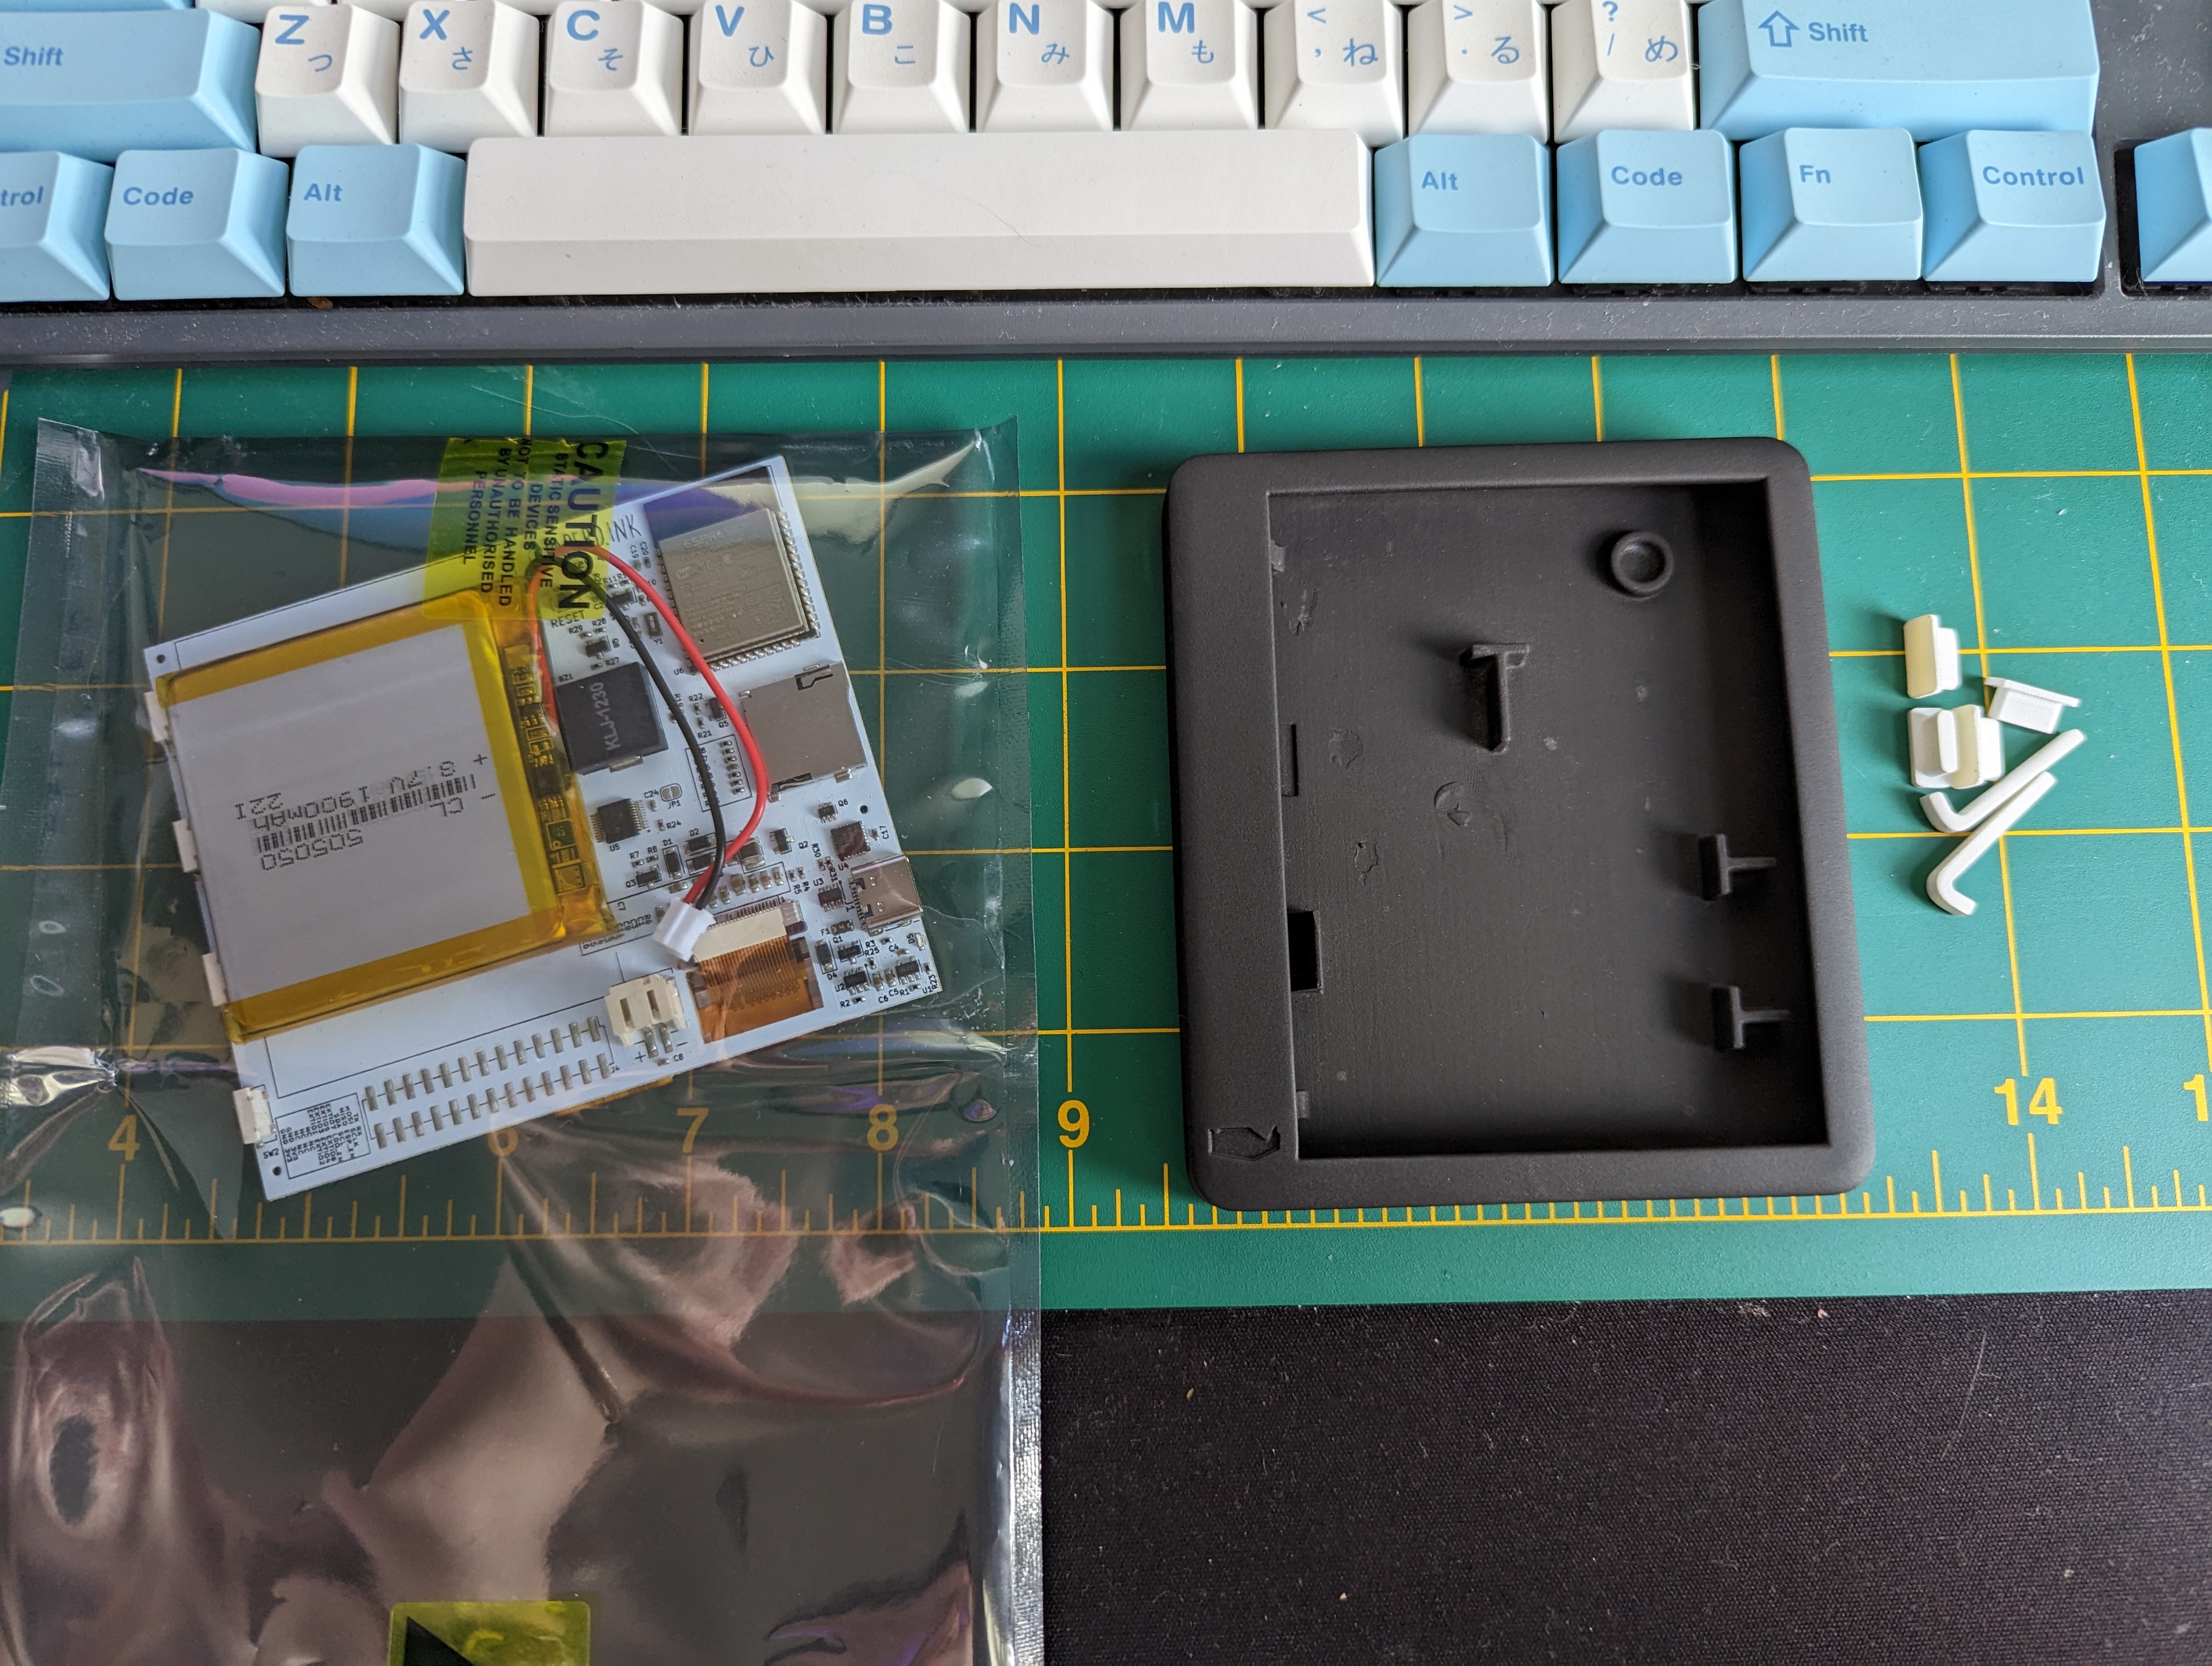
First I plugged in the battery. This isn't in the docs at all, so I had to use my intuition here. When it's powered for the first time it goes through a start-up process that's very cute (it even plays a song) and finally settles on "SD Card Failure" because we haven't inserted an SD card yet.
Next I put the case together, and right away I encountered an issue. The battery had been mounted too high on the circuit board and it interfered with two T-shaped plastic tabs on the inside of the back of the case.

I sent a Whatsapp message to their support number and they got back to me within ten minutes (despite the fact that it was almost two am in India). The battery isn't glued down very tightly and I was able to pry it off delicately with my fingers and move it myself.
I still had trouble getting the case closed -- the third T-shaped tab was now interfering with the battery's wires -- but that issue was mitigated with some fiddling. It's important to note, however, that the case does not snap closed like you would expect. Even when it is closed properly, it's not even a friction fit. Only gravity is keeping it closed, and it will very easily come apart. I suppose the company might call this a benefit, since this is geared toward hobbyists, but even hobbyists want their finished product to close securely. I think it's actually an issue with the material used to create the case. I may 3D print an enclosure for it later that's a little stronger later on.
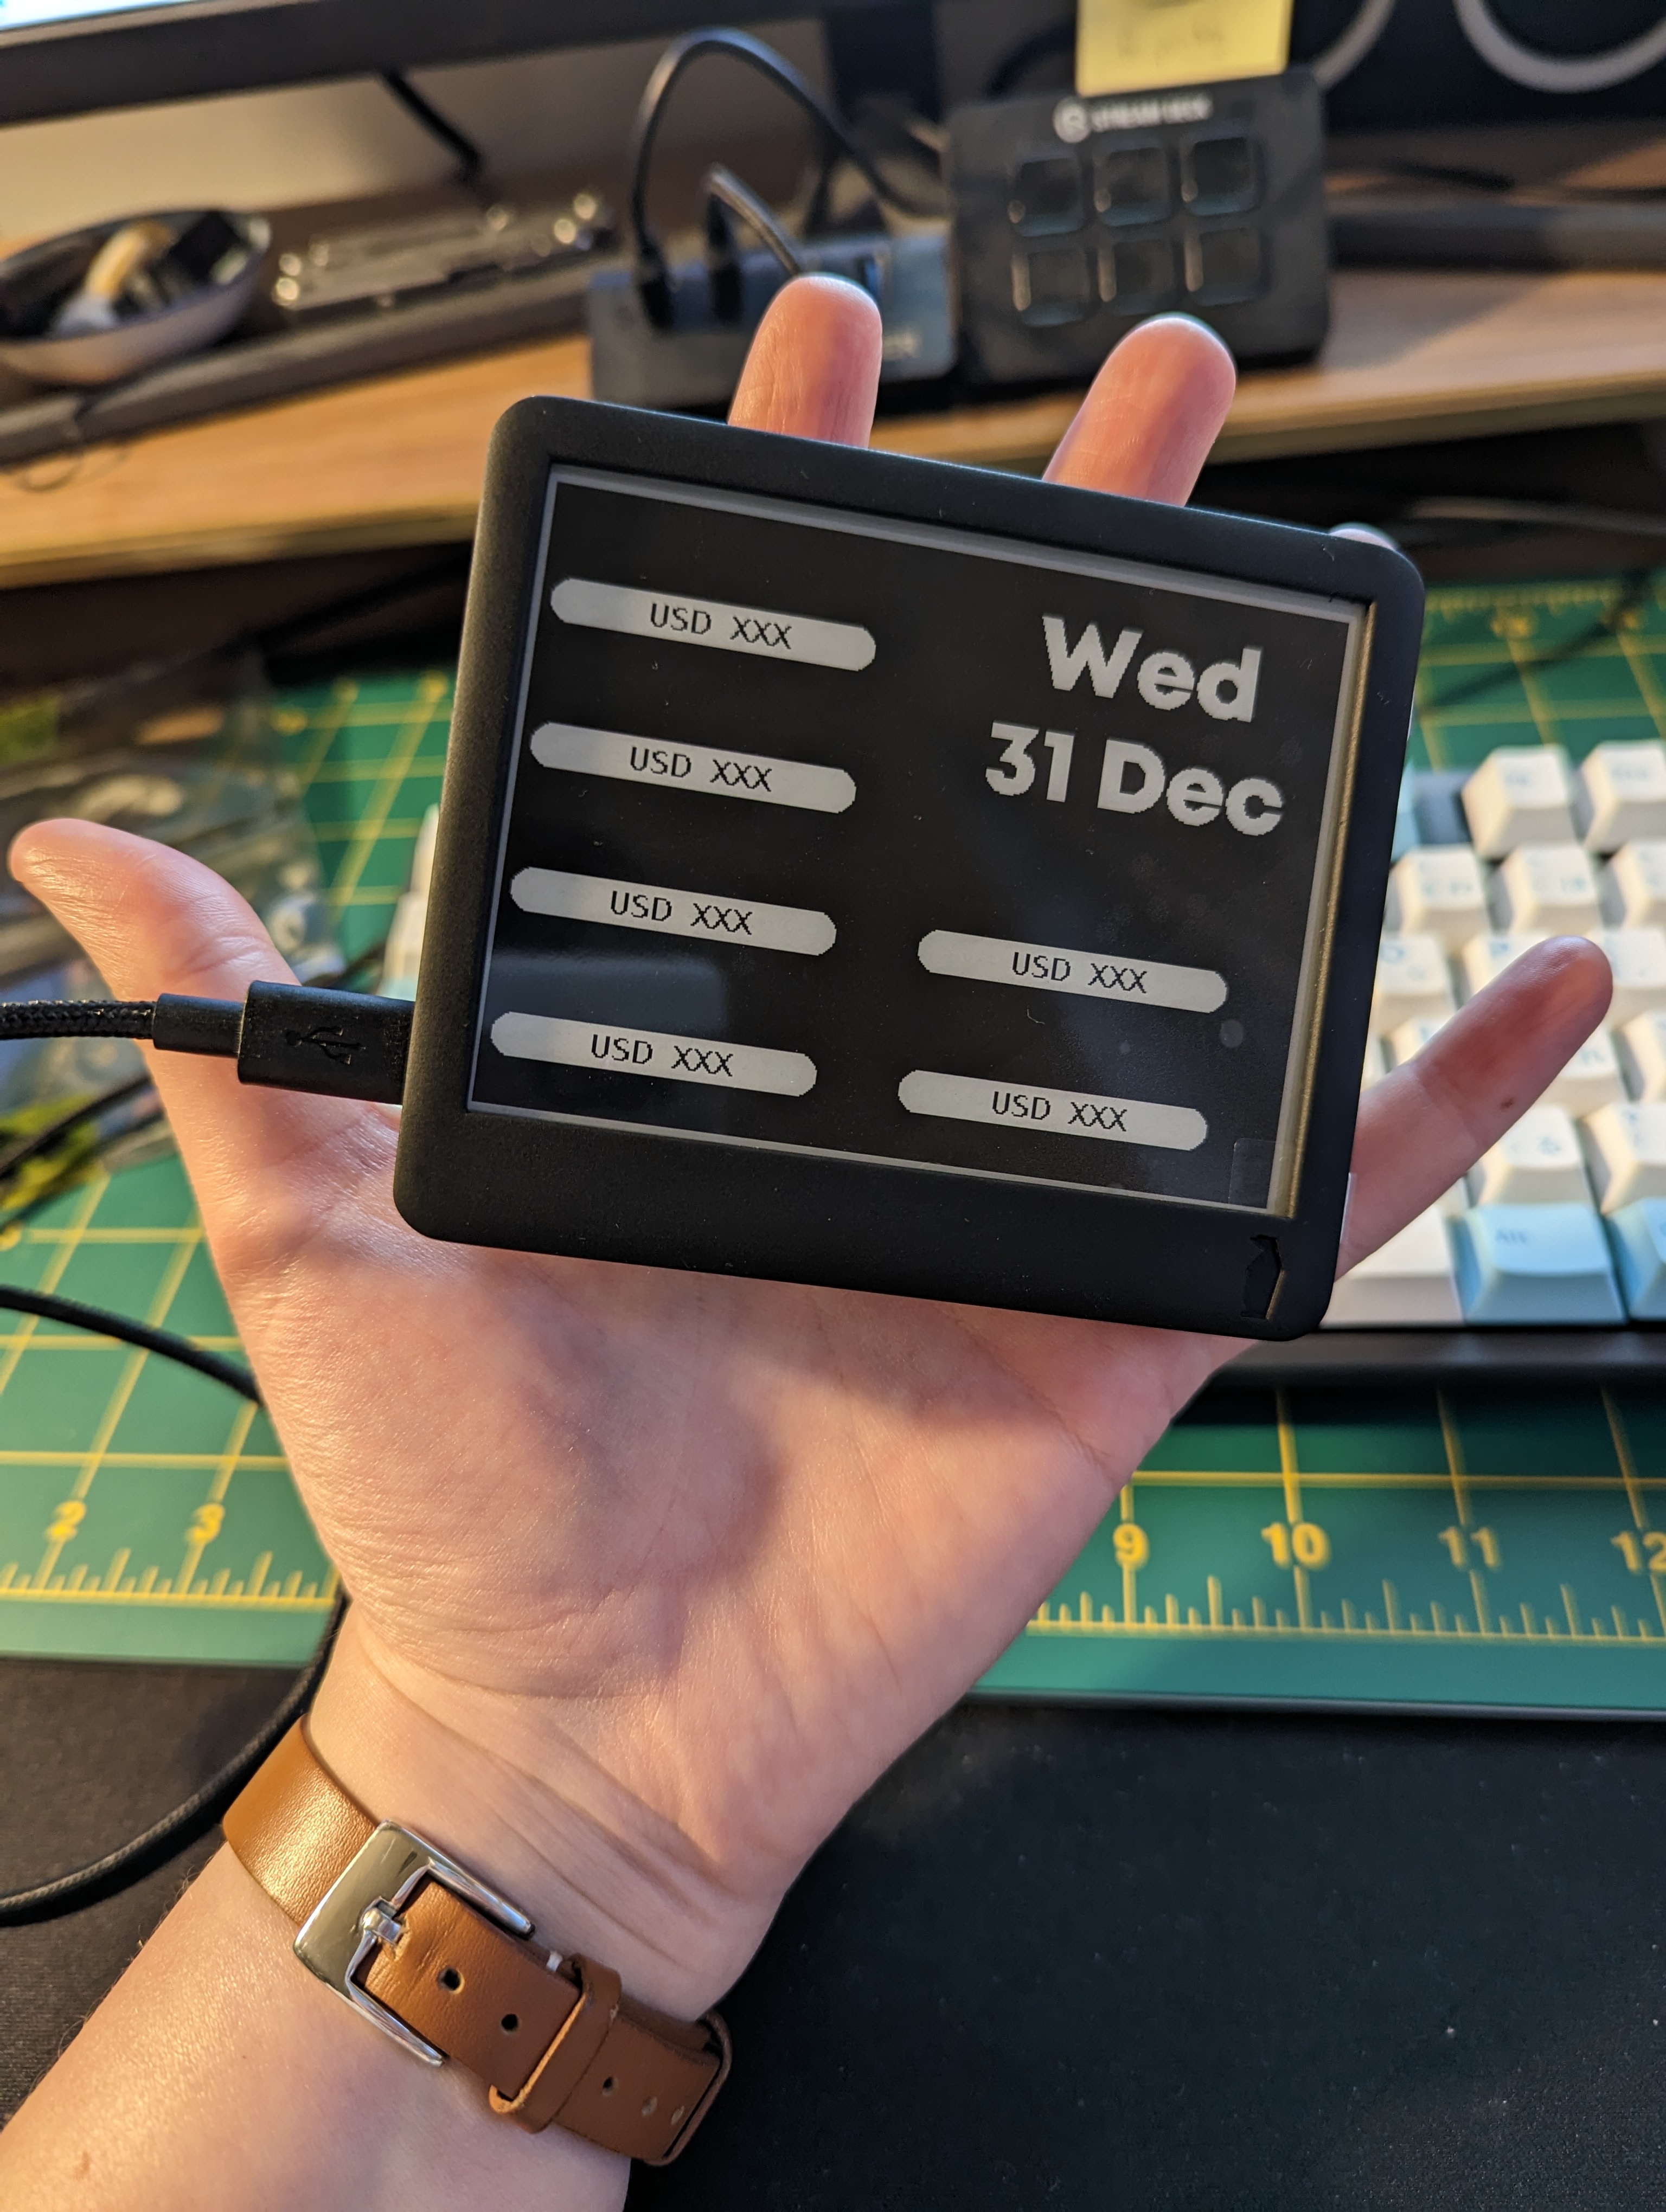
Another thing to note is that this display is... cute. I can almost fit it into the palm of my hand and my hands are quite small. The website certainly doesn't lie about the size, but the images presented don't give you a good impression of just how small 4.2 inches really is.
Besides the closing issues, the case is actually really well designed! It looks professional once it's assembled, the buttons work well, and all the ports (like power and the SD card slot) are aligned properly. I did almost break the small pegs that hold up the screen when trying to get them in, but I didn't!
Compiling and uploading the programs
After assembly it's time to program the device. First thing to do is to insert a microSD card! This step is also not mentioned on their documentation page, so don't forget.
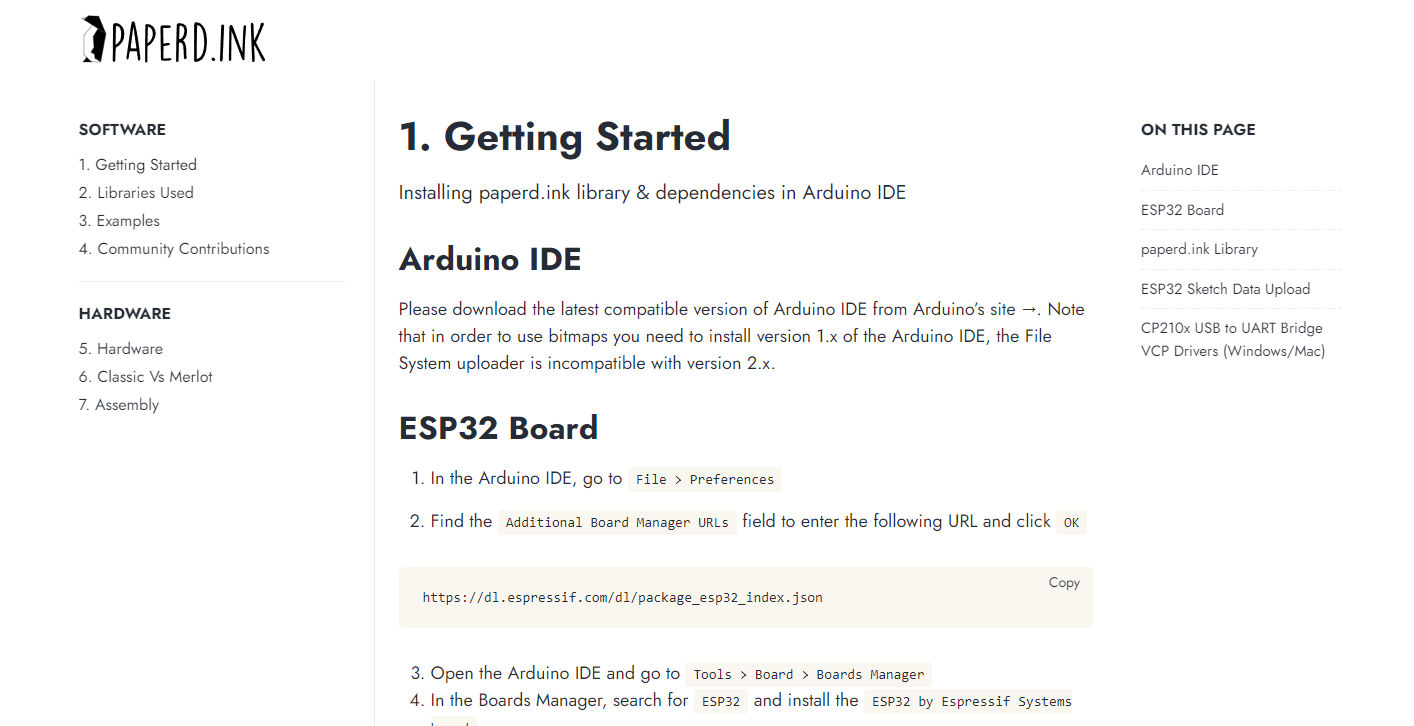
Finally, we start at step one on their Getting Started page. We need to download an old version of the Arduino IDE (hopefully this isn't too difficult to find, I already had it installed). The instructions for adding the ESP32 Board and paperd.ink Library are very straight forward and cover everything you need to know. It even shows you where to find the example sketches to upload to your screen. However, it leaves you hanging when it comes to actually uploading these sketches to your screen.
If you're proficient in working with Arduinos you won't have a problem, but for a beginner-friendly hobbyist project like I sure thought this project was, this isn't ideal. For those who are stuck here, you'll need to:
- Go to Tools > Port and select the correct COM port.
- Click the Upload icon (looks like a right arrow) to compile, verify, and upload.
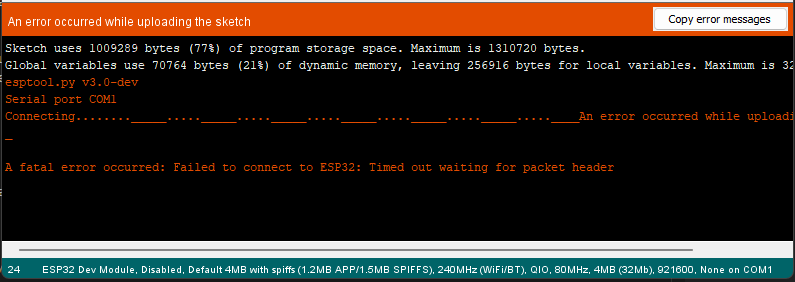
How do you know which COM port to select? To be quite honest, I don't know. I always just guess. You will get an error like the one below saying the connection timed out if you pick the wrong one.
I first tried to upload the Calther example. I downloaded the files Calther.ino and config.h from the Github into a folder I made called "Calther" and put the folder into the default Ardunio folder at /Documents/Ardunio/. I changed all the required settings in config.h, saved the file, and uploaded it.
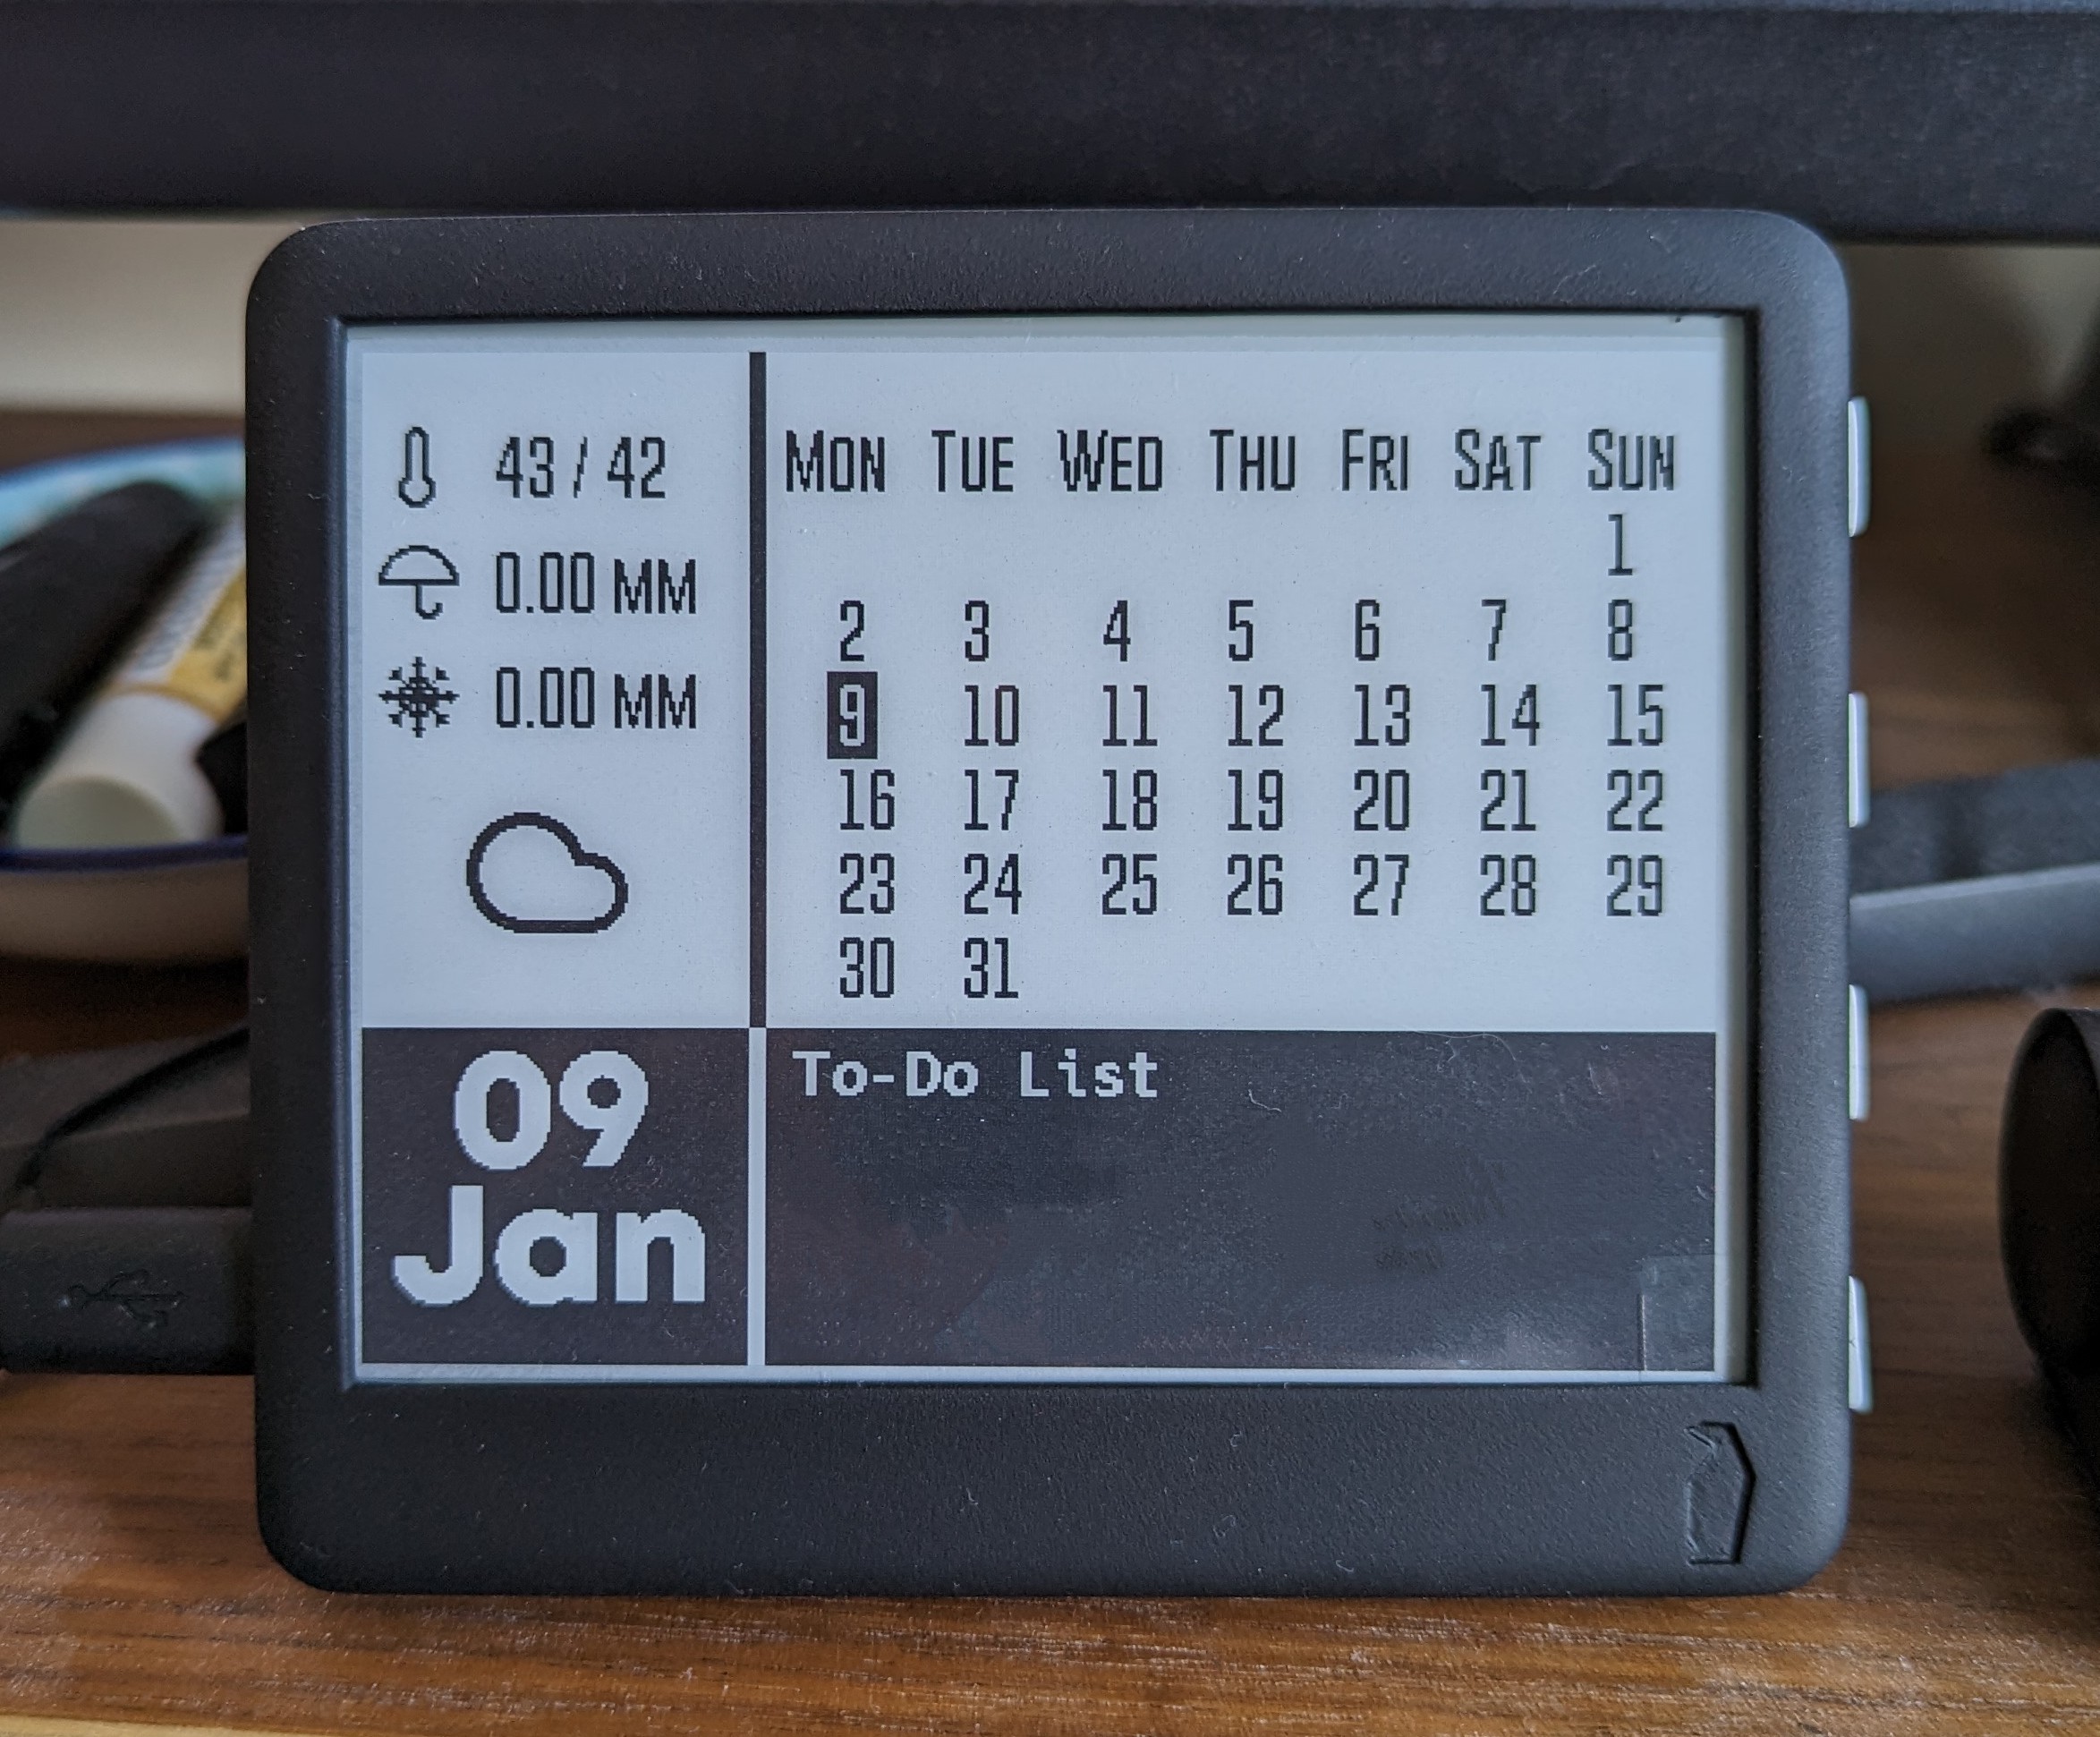
When I uploaded the program I got an error that 'class PaperdinkUIDateClass' has no member named 'display_calender'. This is a known issue and has not yet been addressed by the team. The issue seems to be with the Calendar module, so I picked a different example that didn't use the calendar, the quotes example.
The quotes example didn't compile either and I received an error that stated 'DyanmicJsonDocument' was not declared in this scope. I reported the issue and moved on to another example.
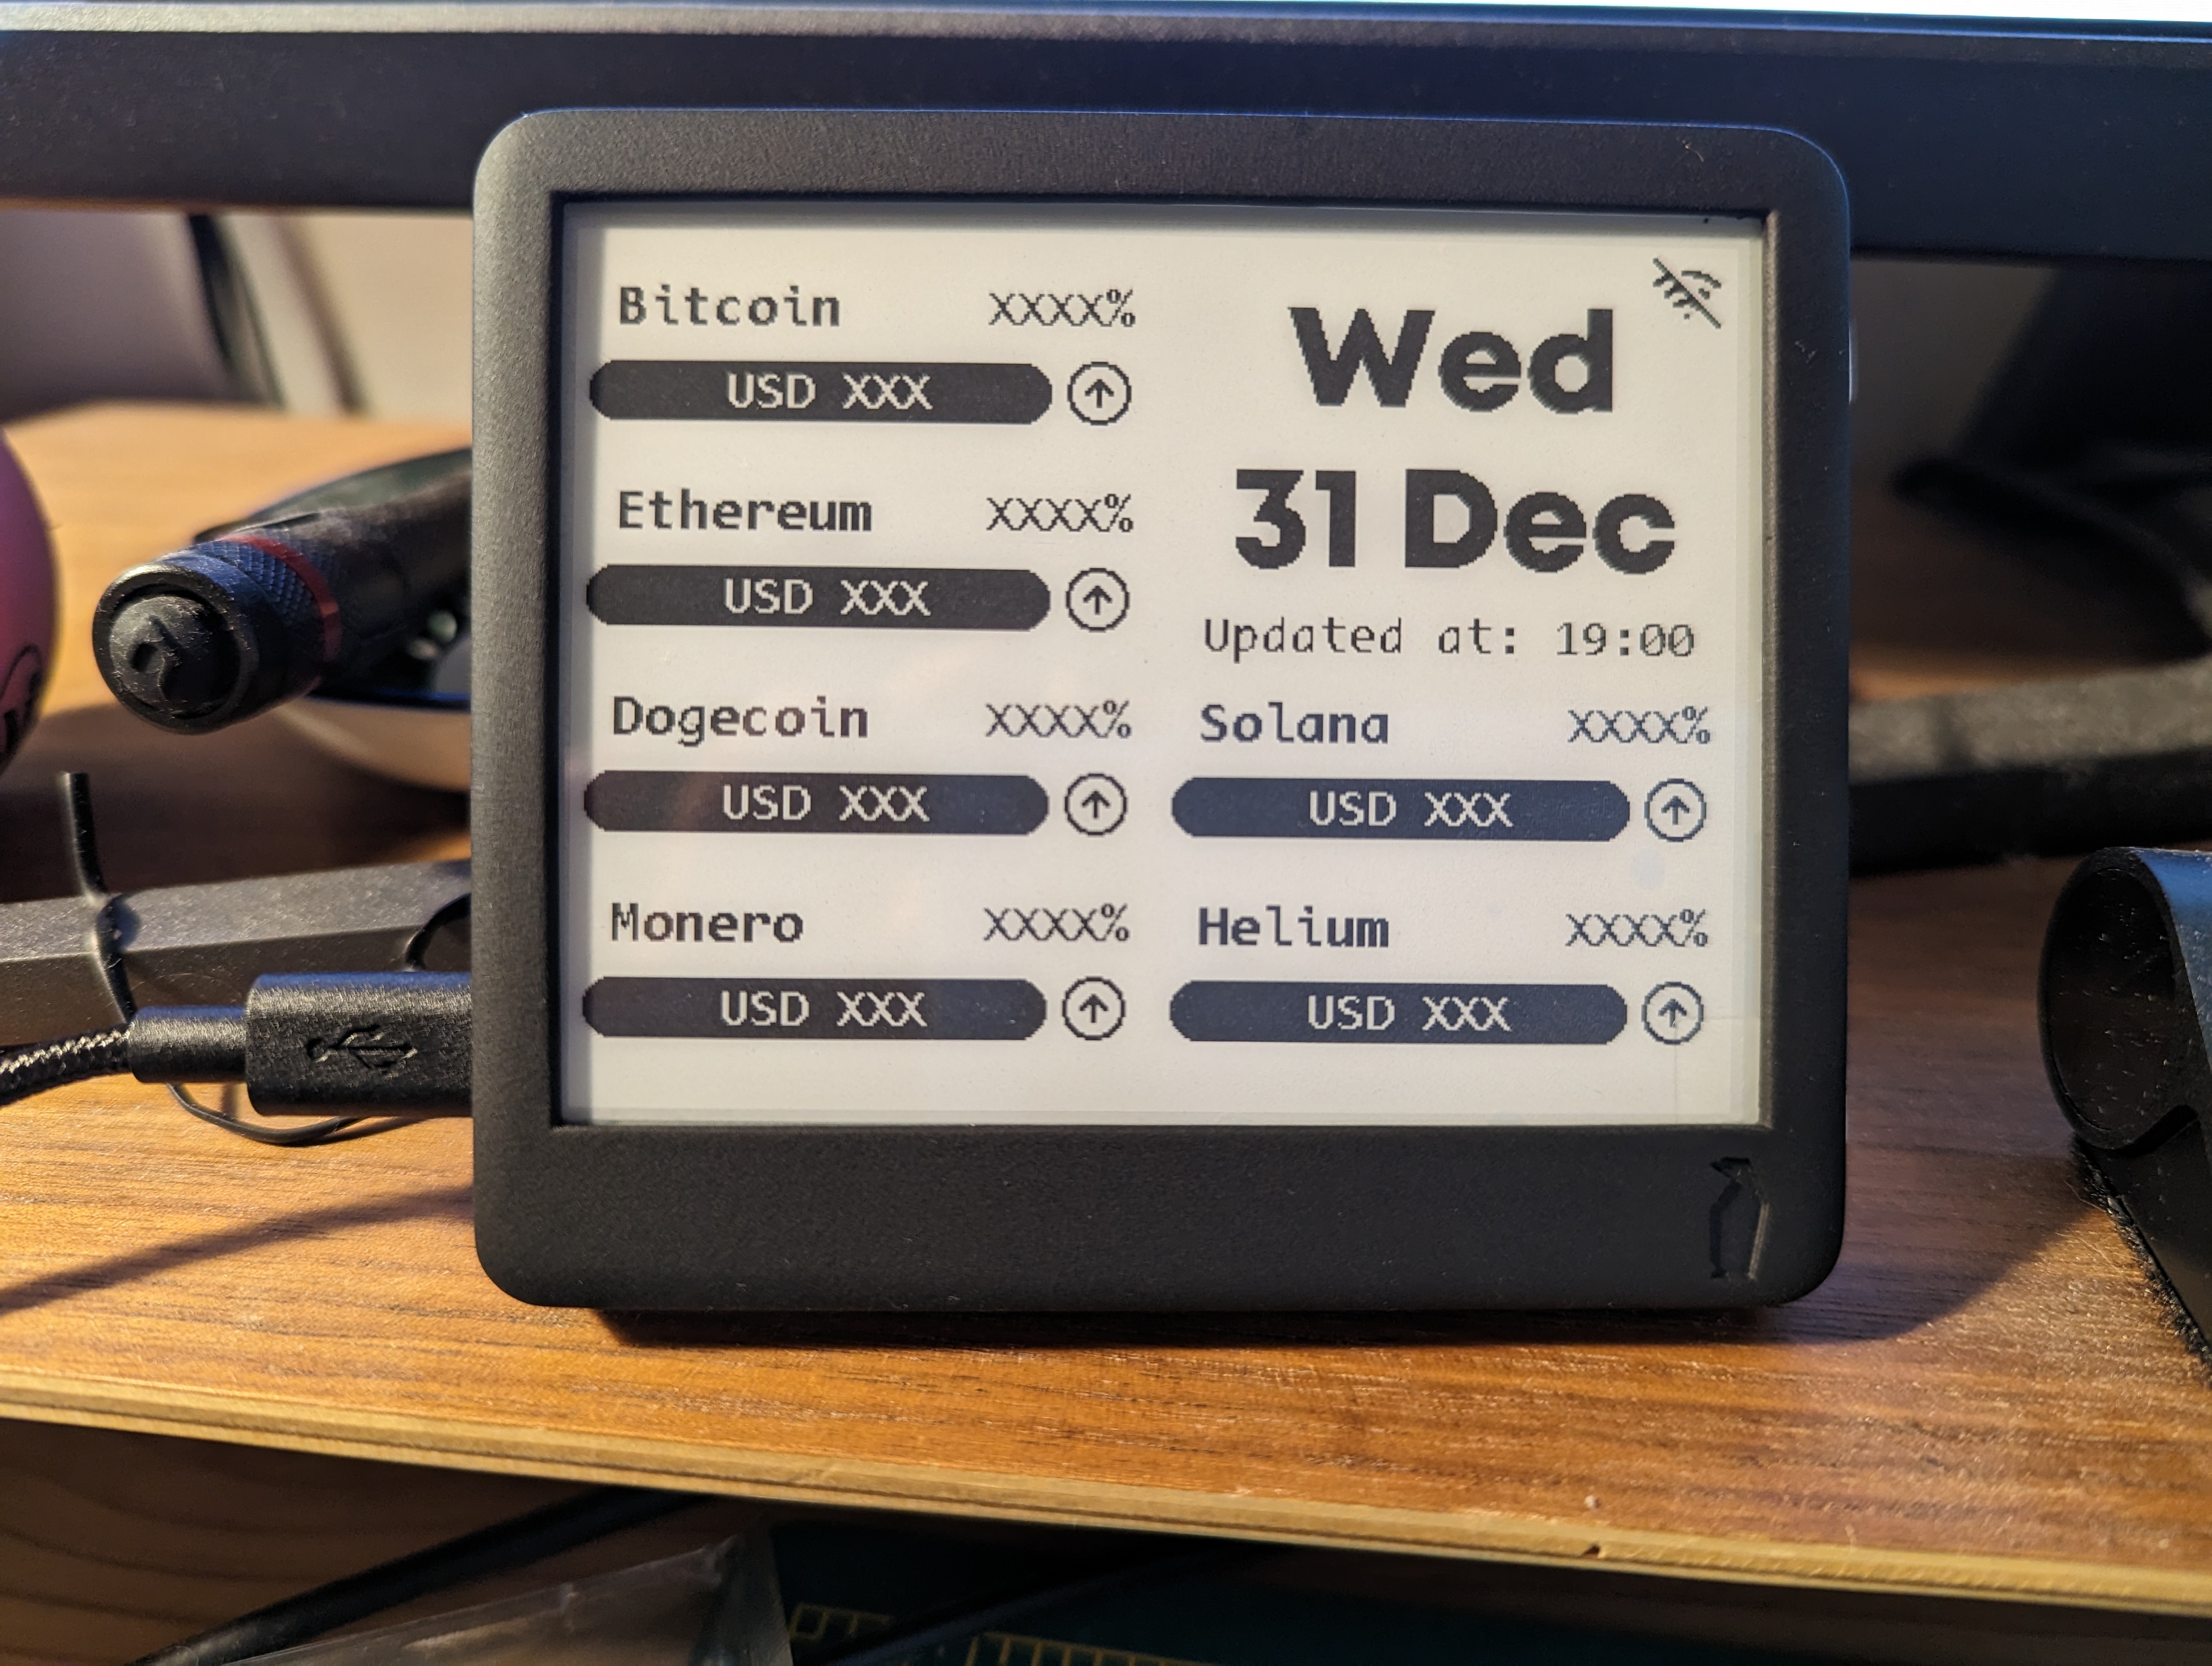
The crypto example was the first program I got to compile and upload without error. However, it doesn't seem to be connecting to the internet properly. The time is not correct (although it does seem to be incrementing every time the screen refreshes) and neither is the date, and none of the crypto prices are filled in.
See Jan 9th update on these issues at the end of this page.
Overall Impressions
An obvious use of the buttons would be to refresh the data on the screen, or to allow you to switch between programs, but that functionality doesn't seem like it has been implemented in any of the programs yet. I hope that as this product is developed further, the buttons are put to use. I also hoped that there would be a power switch, but in order to power off the device you have to disassemble it and remove the battery. This is typical for a hobbyist project like this, but I expected a little more from a kit that I purchased.
Overall, I like the idea and it's very cute (especially with the penguin branding), but the lack of support on the software side is frustrating. This repo was opened just a month ago and none of the six issues have been addressed by the author. None of the first three examples I tried appear to work without modifications that are beyond my skill set.
Right now I cannot recommend this product, but I really hope that these issues are addressed within a few weeks and I can change my recommendation! I love to see e-paper screens being used in new ways and I can imagine lots of applications for this, if only it worked.
Update (Jan 9th, 2023)
After some back-and-forth on email with the CTO of Paperdink as well and some additional help from @hakayova@hachyderm.io, the library for Paperdink has been updated to v0.0.4. After updating to that version in the library manager, I also had to manually search for and install the library ArduionJson by Benoit Blanchon. After doing both of these things, I got the Calther example to compile and upload to my device without error.
I still had issue with the wifi not connecting, the same issue I had with the Crypto example. I figured out that the Paperdink will not work with 5GHz wifi networks. I switched the wifi details from my "5G" network to my regular one and the wifi connects without issue. This is really something that the instructions should make clear.